Become a Rock Star
Play Become a Rock Star
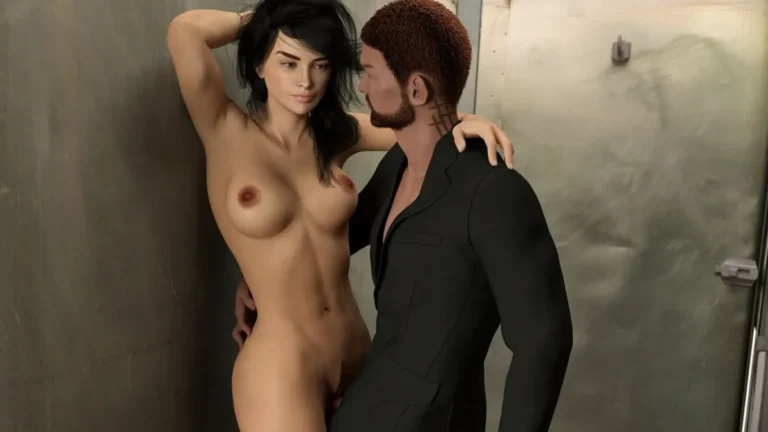
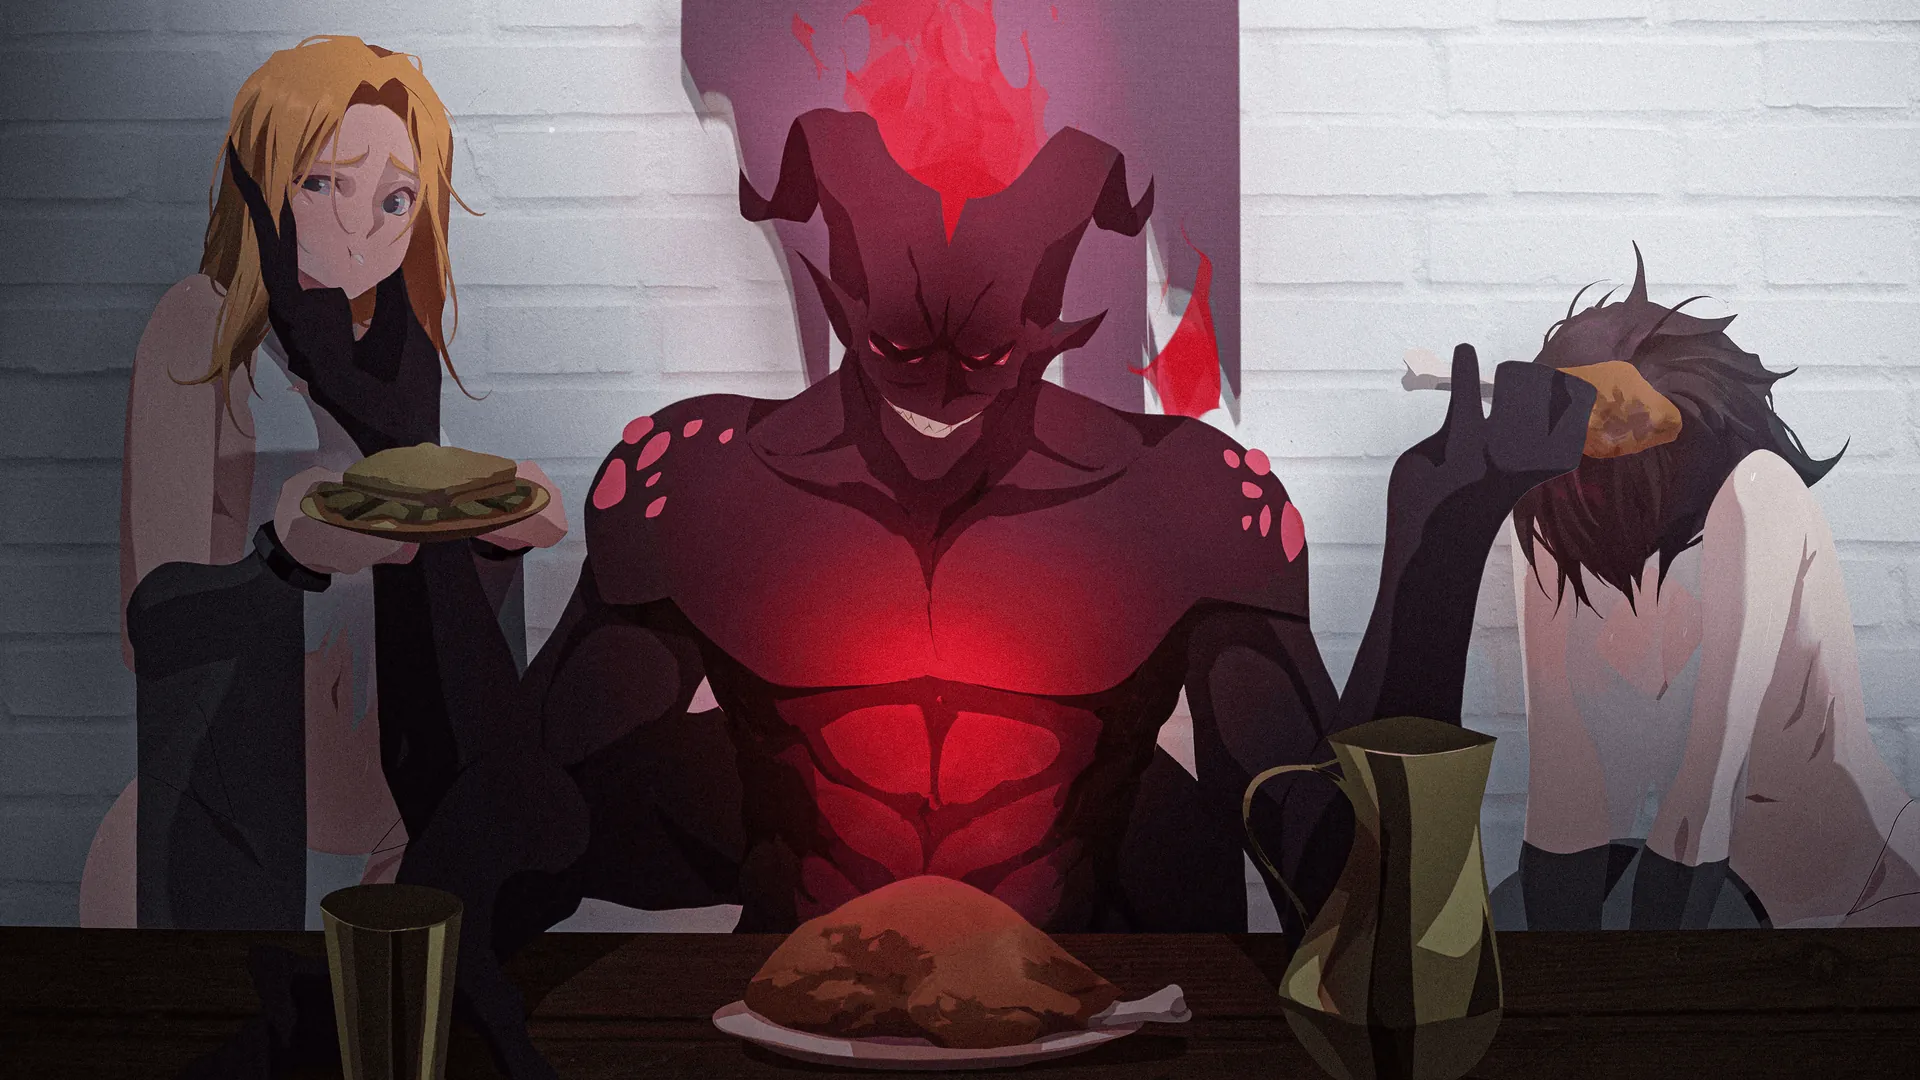
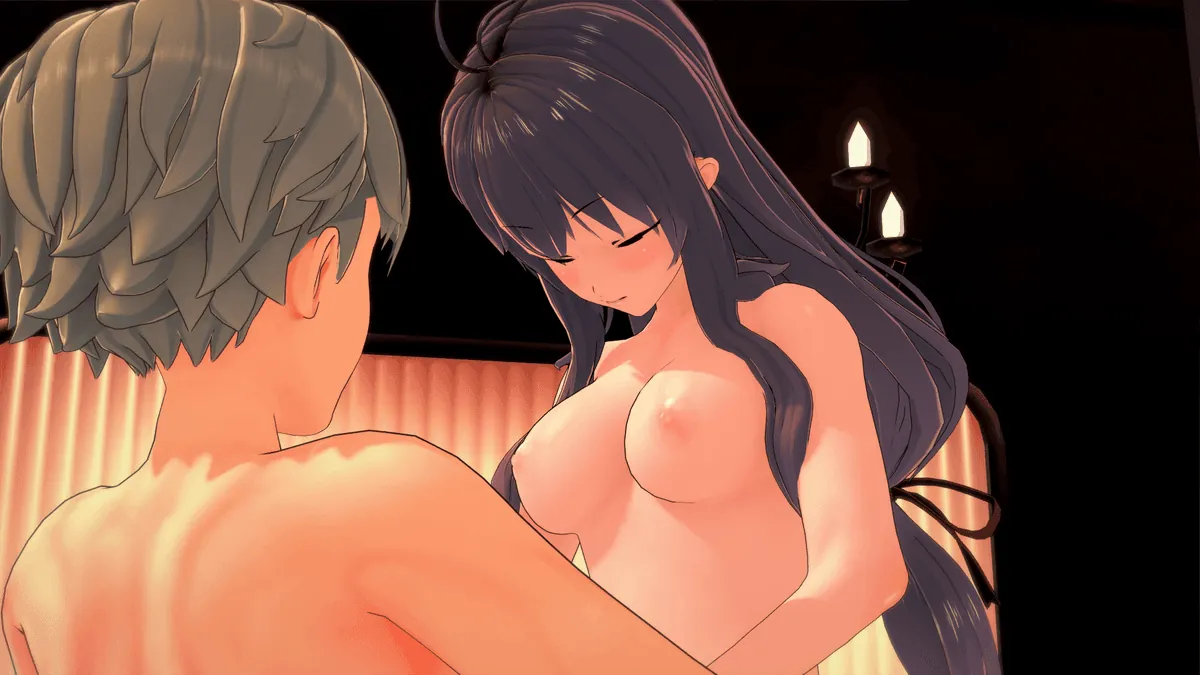
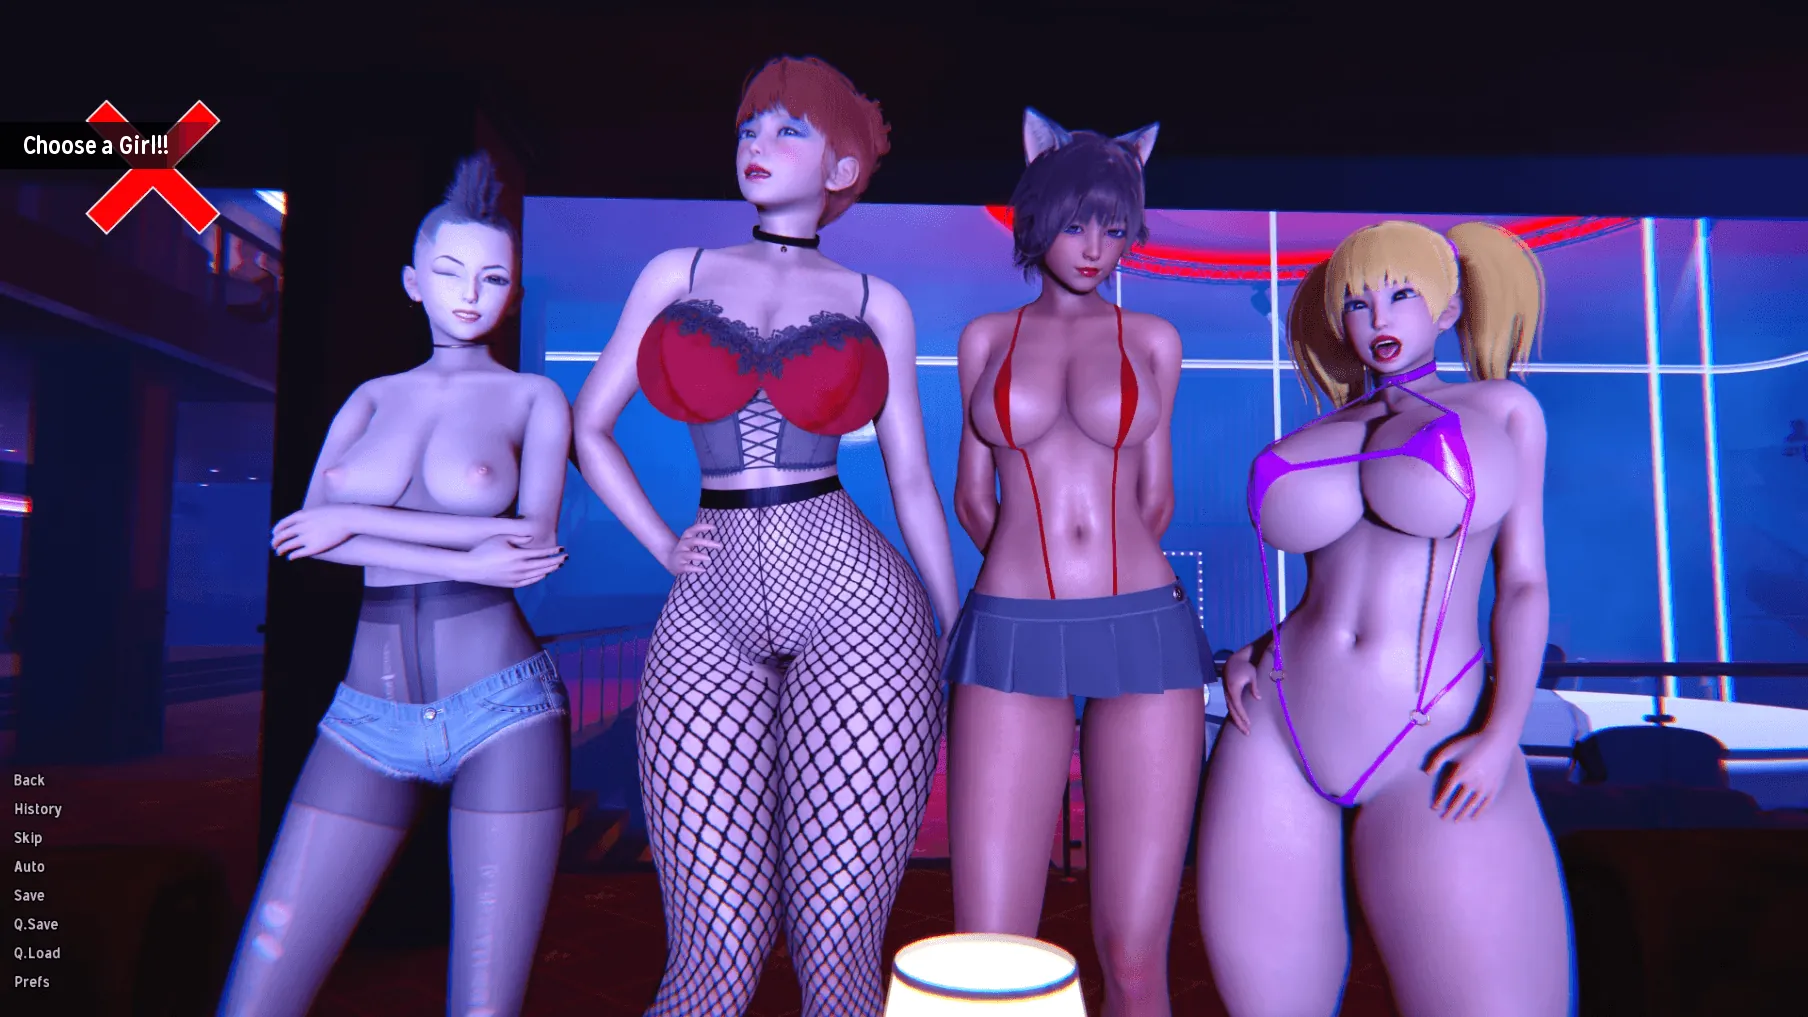
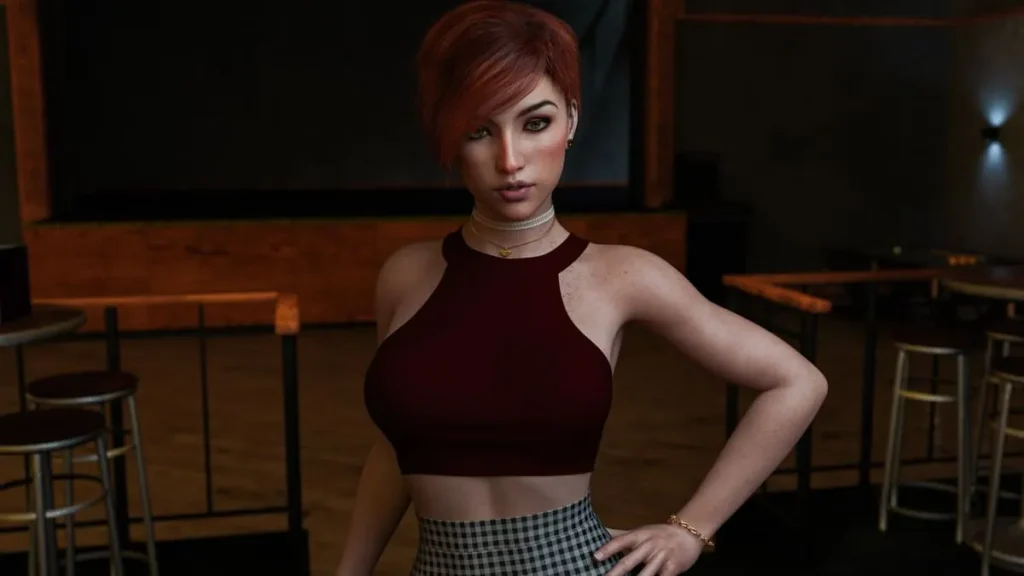
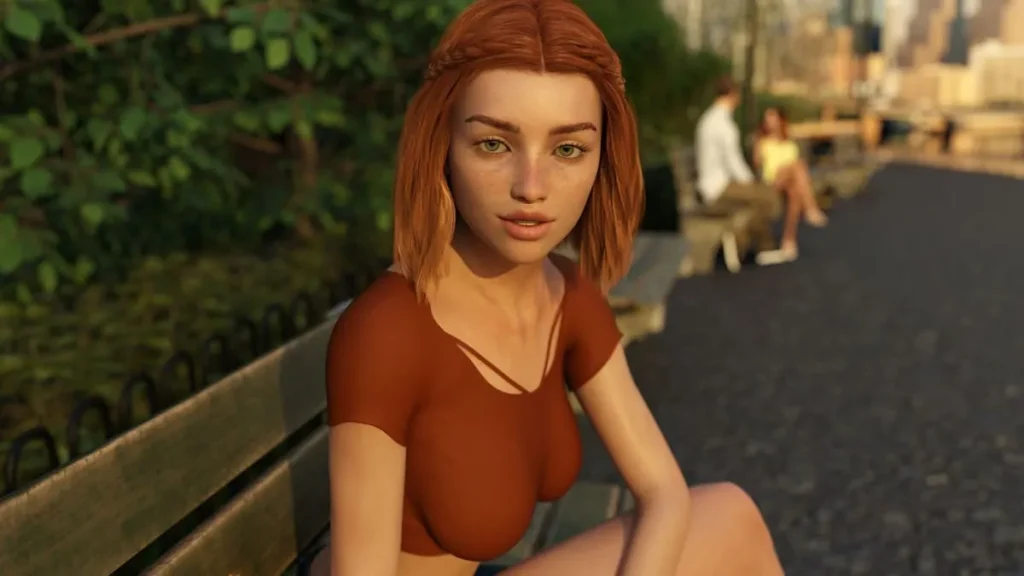
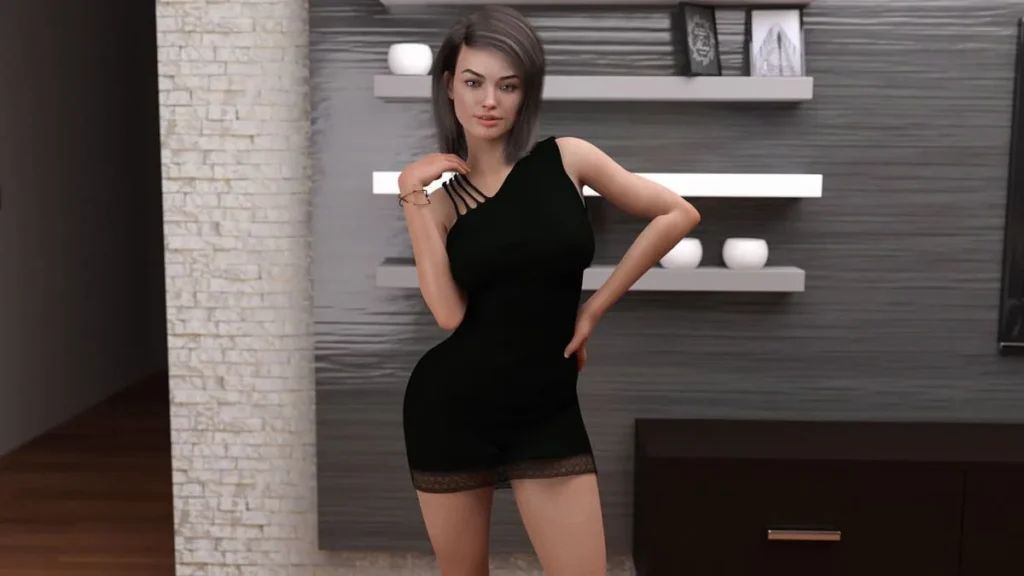
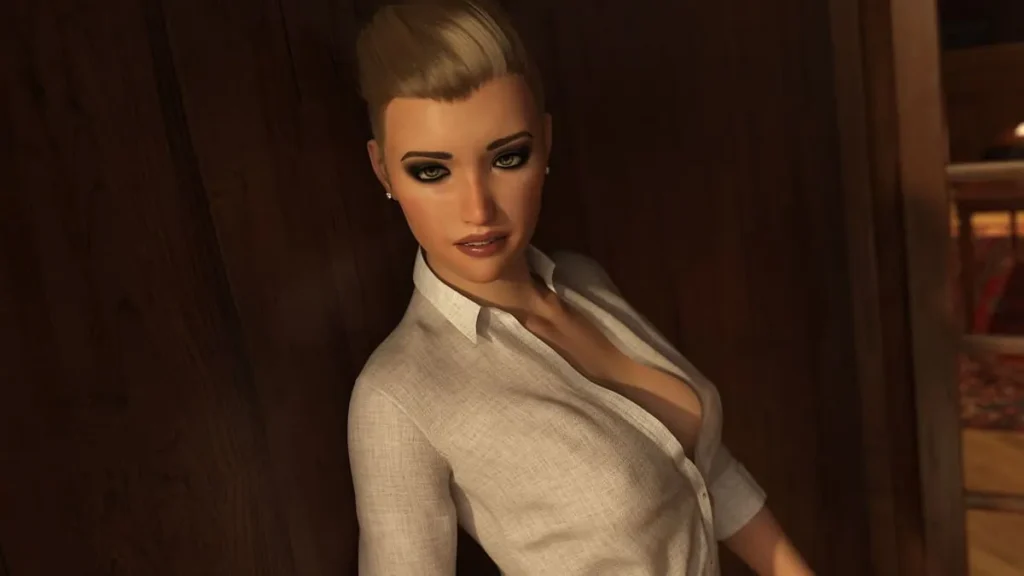
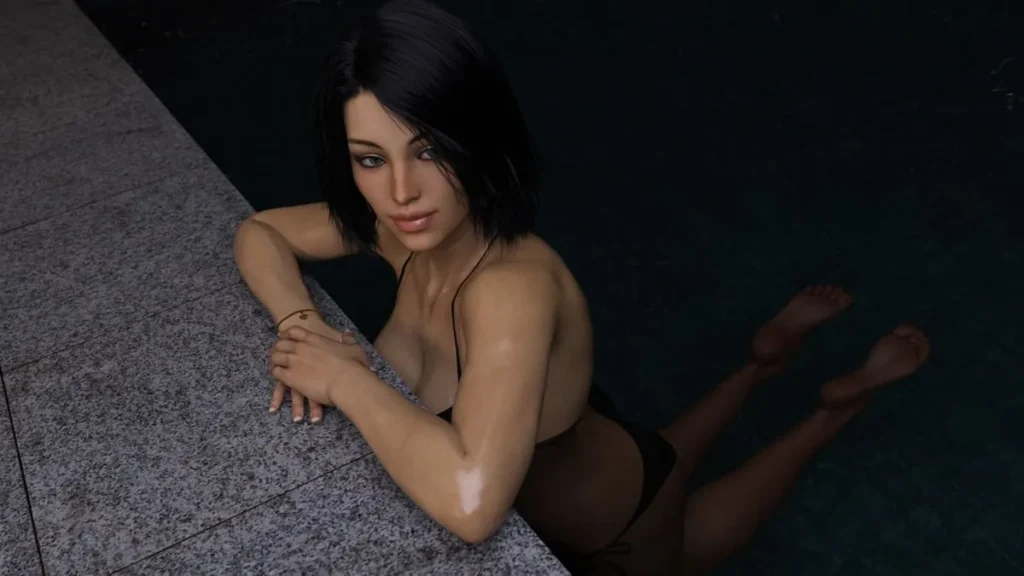
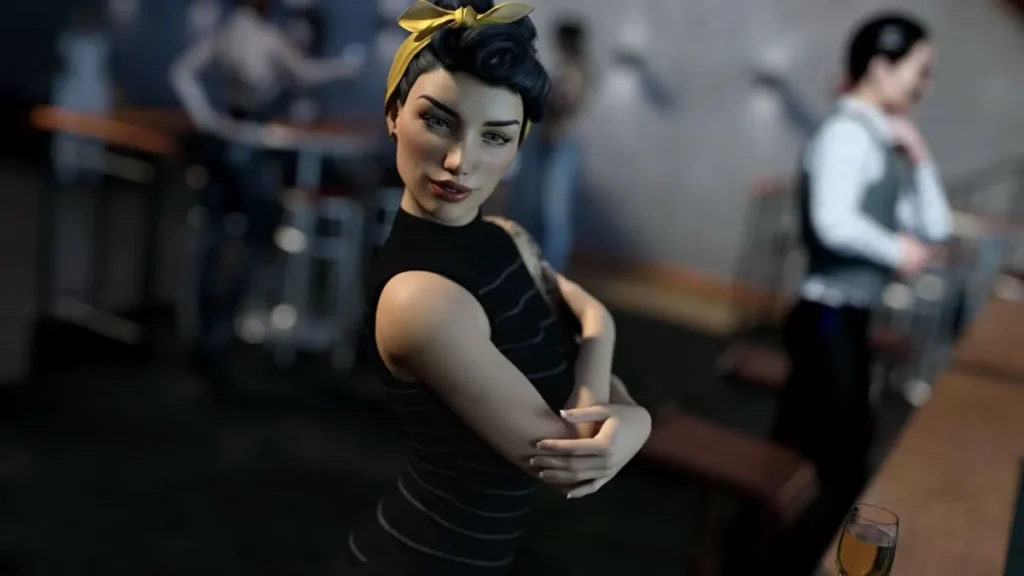
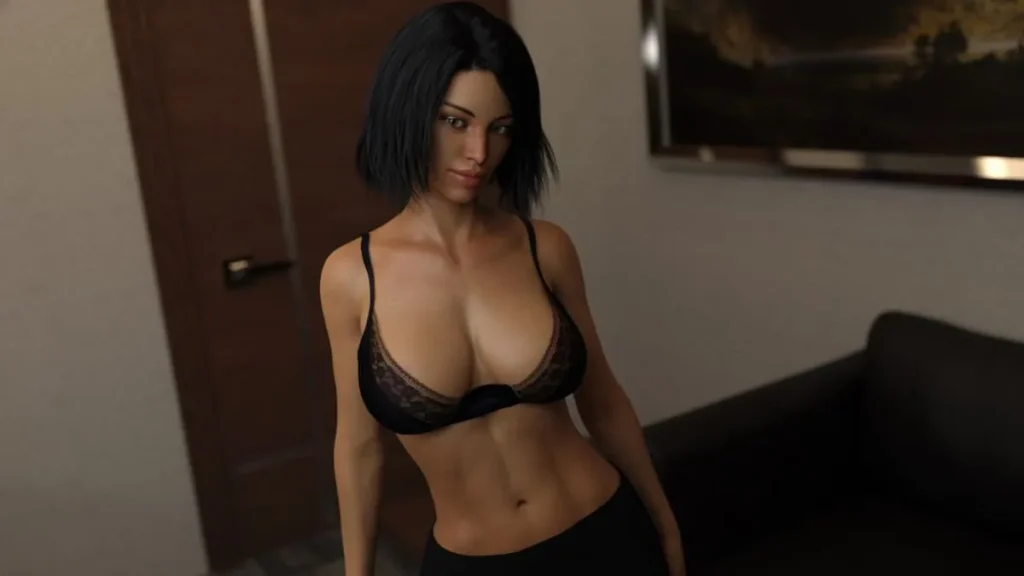
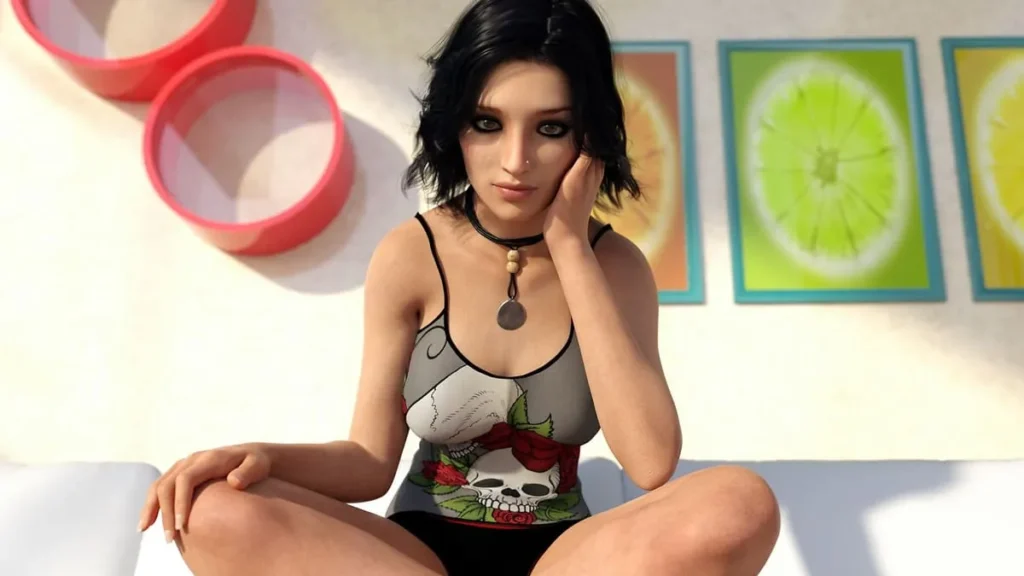
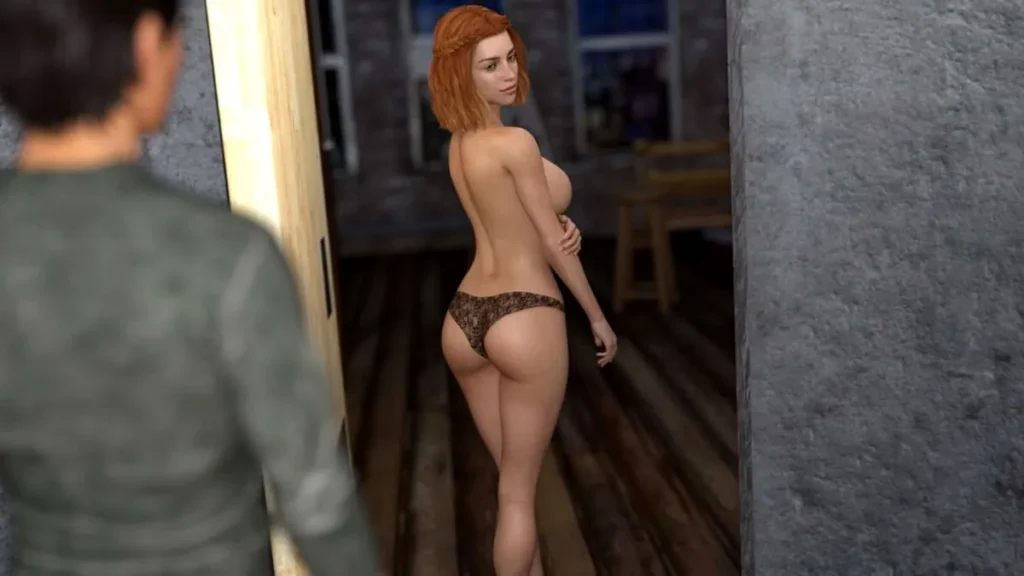
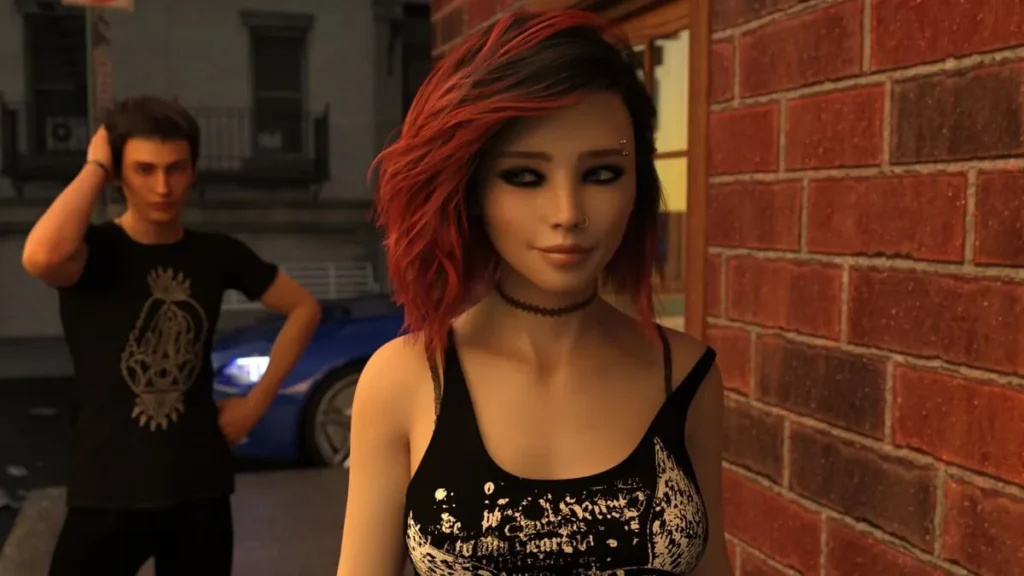
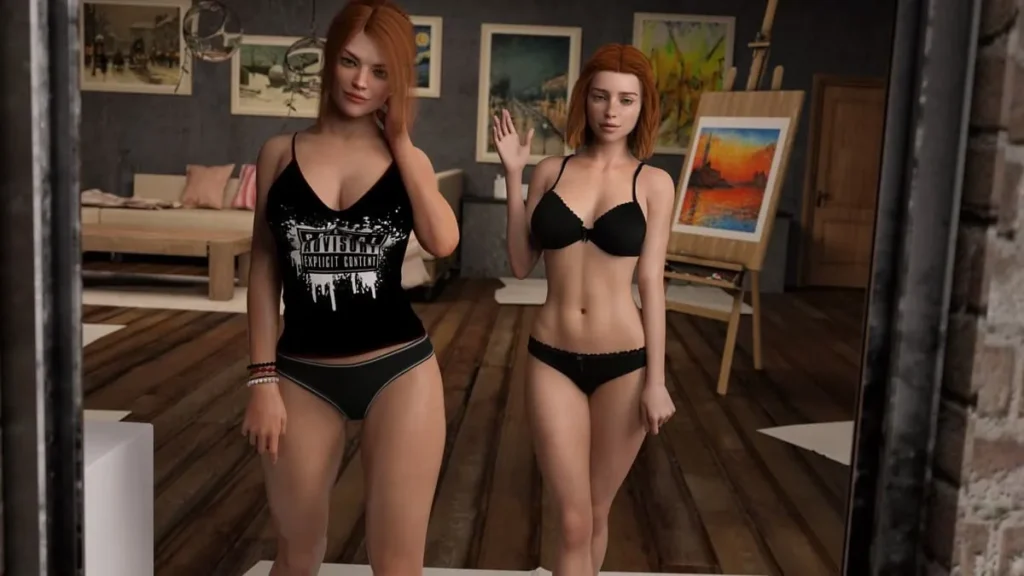
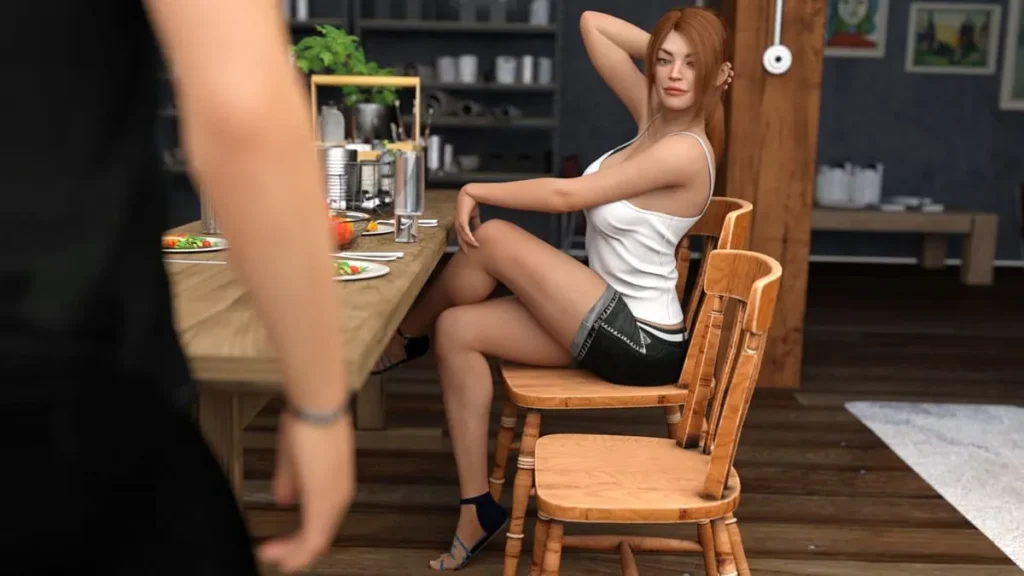
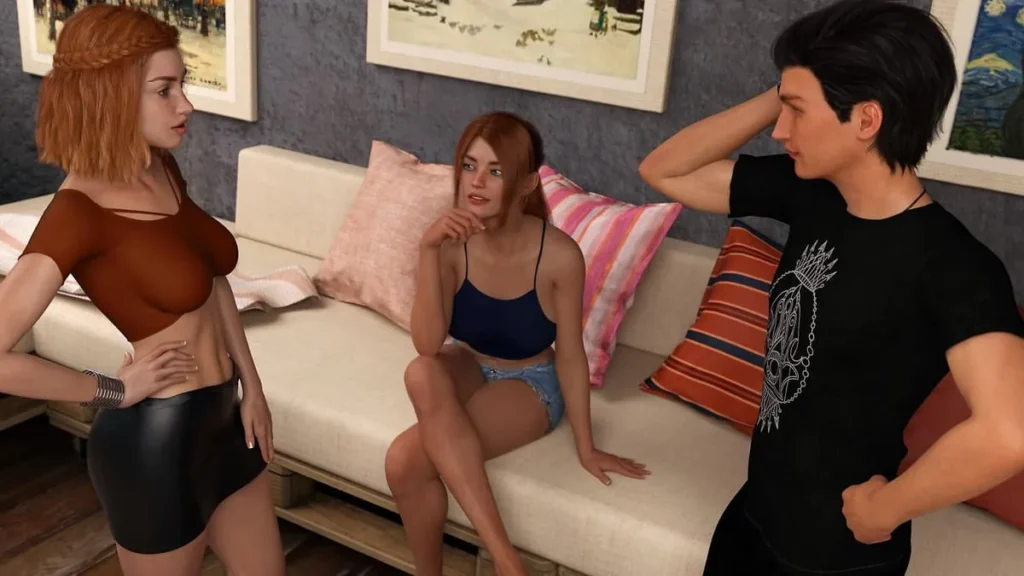
Become a Rock Star Screenshots

Become a Rock Star review
A hands-on, player-first guide to mastering Become a Rock Star
If you want a straightforward, player-focused guide to Become a Rock Star, this article walks you through the game’s story beats, mechanics, and strategies to get the most out of your playthrough. Become a Rock Star is an interactive narrative game about starting a band, building relationships, and making choices that shape your career. This guide blends personal anecdotes, concrete tips, and step-by-step advice so you can navigate character routes, optimize resources, and unlock key scenes.
Getting Started: Installation, Requirements, and First Steps
So, you’ve decided to chase the dream 🎸. Welcome to the grind, the glory, and the gritty reality of Become a Rock Star. Before you can shred a solo or argue with your bassist over artistic differences, you need to get the game running smoothly on your machine. Nothing kills a rock ‘n’ roll fantasy faster than crashes, lag, or—worse—a sketchy download that bricks your PC. Trust me, I’ve been there.
This guide is your backstage pass to a flawless start. We’re going to cover the absolute essentials: the Become a Rock Star system requirements, a foolproof Become a Rock Star install guide, and the crucial Become a Rock Star first hour tips that will set you on the path to stardom, not a part-time job as a barista. Let’s get you from fan to frontman.
System requirements and safe installation 🛡️
First things first: can your rig handle the show? Knowing the Become a Rock Star system requirements is step zero. The developer lists the bare minimum, but I’m going to give you the real-world specs you need for a smooth experience without the audio stuttering during your first big gig.
Here are the official and “street-smart” specs:
| Component | Minimum (Official) | Recommended (For a Smooth Show) |
|---|---|---|
| OS | Windows 10 (64-bit) | Windows 10/11 (64-bit) |
| CPU | Intel Core i5-4460 / AMD FX-8350 | Intel Core i7-7700K / AMD Ryzen 5 2600X |
| RAM | 8 GB | 16 GB |
| GPU | NVIDIA GTX 760 / AMD Radeon R9 280X | NVIDIA GTX 1060 6GB / AMD Radeon RX 580 |
| Storage | 15 GB HDD | 20 GB SSD (Seriously, load times matter!) |
🚨 Critical Tip: Always, always ensure you have the latest graphics drivers installed. An outdated driver is the #1 cause of weird visual glitches I see new players report.
Now, let’s talk about the most important step: the safe download Become a Rock Star process. This is non-negotiable. The internet is full of “unofficial builds” packed with malware that’ll hijack your system faster than a greedy manager. Only download from the official storefronts or the developer’s verified website. If a deal seems too good to be true, it is. You’re investing in your virtual rock career; don’t cheap out on a virus.
Once you have the genuine game files, the actual how to install Become a Rock Star process is straightforward, but a checklist saves headaches. Here’s my battle-tested installation ritual:
| Action | Why It Matters | How-To Steps |
|---|---|---|
| Verify Download Integrity | Prevents corrupted installs that crash on launch. | If your storefront (like Steam) has a “verify integrity of game files” option, run it post-download. |
| Install to an SSD | Drastically reduces loading screens between venues, rehearsals, and your grimy apartment. | Choose a custom install path if needed. Avoid cluttered system drives. |
| Update Required Runtimes | Games often need DirectX or Visual C++ redistributables. Missing them causes silent failures. | The installer usually handles this, but if you get a DLL error, download them directly from Microsoft. |
| Run as Administrator (First Time) | Gives the game the permissions it needs to write crucial config and save files. | Right-click the game’s .exe or shortcut, select Properties > Compatibility, and check “Run this program as an administrator.” |
| Disable Overlay Apps | Discord, Xbox Game Bar, etc., can cause conflicts, frame drops, or input lag. | Turn them off globally or for *Become a Rock Star* specifically before your first launch. |
Personal Anecdote Time: On my first install, I skipped the “run as admin” step. The game launched, but my settings wouldn’t save, and it crashed every time I tried to leave the first club. An hour of troubleshooting later, that one checkbox fixed everything. Learn from my frustration! This is a key part of any solid Become a Rock Star install guide.
First-hour checklist and settings ⚙️
You’re installed! Now, before you dive into creating your character, let’s optimize your experience. The right Become a Rock Star settings make the difference between an immersive concert and a technical rehearsal.
On first launch, head straight to the Settings Menu. Here’s what I prioritize:
- Display & Graphics: Set your native monitor resolution. Cap your framerate to your monitor’s refresh rate (like 60 or 144 FPS) using the in-game limiter for smoother performance. Turn V-Sync off initially; you can enable it later if you notice screen tearing.
- Audio: This is a music game! Balance your sliders. I turn down “Ambience” a notch and boost “Music” and “SFX” so the crowd and my riffs are crystal clear. Don’t blow out your speakers on the title screen.
- Gameplay: Enable Autosave and set it to frequent. You do not want to re-do a 45-minute songwriting session because of a crash. Also, turn on subtitles—some NPC managers mumble their golden advice.
A pro tip many guides miss: after tweaking settings, actually close and restart the game. This ensures all configuration files are properly written and loaded. It’s a simple step that prevents weird glitches.
Now, you’re ready for the fun part. Your first hour in Become a Rock Star is about laying a foundation. These Become a Rock Star first hour tips are designed to open up opportunities and avoid early roadblocks.
- Talk to Everyone in Your Starting Location: Your apartment building and the local dive bar are filled with potential bandmates, quest givers, and part-time job contacts. Exhaust all dialogue options. The shy drummer in the corner might be your ticket to greatness.
- Check Your Phone & Computer Immediately: Your in-game phone is your lifeline. Check emails for tutorial quests and offers. Your computer is for browsing fictional job boards and, later, social media to build your fanbase.
- Do the “Gig at the Local Dive” Tutorial Quest: This is the game’s way of teaching you the core performance mechanics. Don’t skip it! It unlocks your ability to book other small gigs.
- Earn Your First $500 on Flexible Jobs: Before you can buy decent gear, you need cash. Take one or two quick “odd job” missions (like moving gear or putting up posters). They give quick money and sometimes introduce you to characters.
- Visit the Pawn Shop & Music Store: Don’t buy anything yet. Just look. This shows you the tier of gear you’re working towards and makes the grind feel tangible.
- Invest in One Core Skill: When you get your first few skill points, don’t spread them thin. Dump them into either Guitar Technique, Charisma, or Songwriting—whichever fits your rock star fantasy. Early specialization gets you better gigs faster.
- SAVE YOUR GAME MANUALLY. After you’ve done all this, create a named manual save file like “First Hour Base.” This is your safety net if you want to experiment with different life choices later.
Creating your character and early choices 🎭
This is where your journey truly begins. The character creator in Become a Rock Star isn’t just about looking cool (though that’s 50% of it 😎). Your starting stats and background subtly influence dialogue options, skill check difficulties, and which NPCs warm up to you initially.
- Backgrounds: Choose based on your playstyle.
- Street Musician: Starts with higher Charisma and a cheap guitar. Best for players who want to talk their way into venues and focus on crowd-pleasing.
- Music School Dropout: Higher starting Music Theory and Songwriting. Ideal if you want to compose complex, critically-acclaimed albums faster.
- Self-Taught Prodigy: A balanced start with a slight edge in Guitar Technique. The flexible choice for those who want to master the performance minigames.
My personal pick for a first playthrough is Street Musician. The Charisma boost helps you negotiate better pay for early gigs and smooth-talk record execs, making the initial financial grind a bit easier.
When distributing your few starting attribute points, specialize early. If you chose a background that boosts Songwriting, put your free points there to snowball that advantage. A character who’s “pretty good” at everything will struggle to pass the skill checks needed for the game’s best opportunities.
Your first major story choices will come quickly—like picking your first band members or choosing a setlist for your debut. Here’s my hard-earned advice:
* Always prioritize band chemistry over raw skill. A slightly worse musician who gets along with the group will stick around longer and cause fewer “drama” quests that drain your time.
* For your first gig’s setlist, mix one original song with two covers. This balances pleasing the crowd (who know the covers) with starting to build your own reputation.
* Be cautious with contracts. Your first “manager” or record deal offer will seem amazing. Read the fine print! Some lock you into terrible royalty rates. It’s often better to stay independent a little longer.
Remember, the goal of this first hour isn’t to become famous. It’s to build a stable launchpad. You’ve ensured a smooth install with the right Become a Rock Star settings, you’ve gathered your initial resources and contacts, and you’ve created a character with a direction. The stage is set. The crowd is waiting. Now go out there and make some noise. 🤘
Become a Rock Star is a branching, player-driven experience where choices, relationships, and resource management shape your path to success. Use the installation and first-hour guidance to avoid technical snags, lean into character routes to access more scenes, and apply the stats and resource strategies to progress efficiently. Plan replay sessions with a clear route checklist to capture alternate endings, and rely on community resources responsibly for troubleshooting and optional content. If you enjoyed these tips, try a focused second playthrough using the route templates above and share your discoveries with other players.